Why it Matters
Content targeting enables you to precisely control how, where, and when to automatically show different interactive content depending on user properties, behavior, and more. This can be used to target new users for onboarding flows, show promotions to existing users, hint users about new features, or show different content to different segments of your users.Target Audience
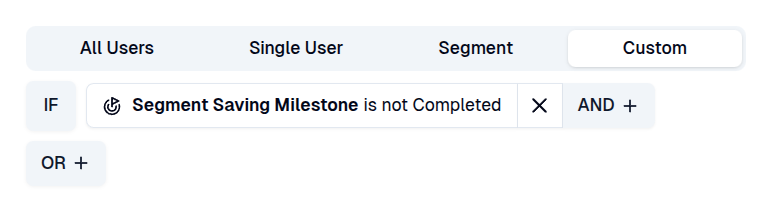
Definewho should see this content.
- All Users: show this content to every single one of your users. This is most useful for global announcements, such as event banners or promotions. For other types of content, it is typically not recommended, as some users might not yet be ready to see your content, while others have already been using your application for a long time.

- Single User: only target a single user by their ID. This is used primarily for testing where tester can target themselves as target audience.

- Segment: used to target a single user or company segment. This is the most common way to target users.

- Custom: define a set of custom rules to target users based on their properties, behavior, and so on. Use this if you need to target multiple segments at once or if you need other, more complex targeting conditions.
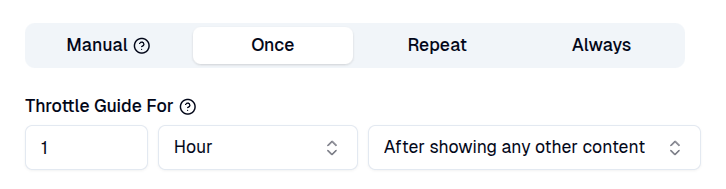
Display Frequency
Definehow often the content should be displayed to individual users.
- Manual: content will only show when users explicitly trigger it, such as through the Resource Center or by clicking a content button. It will never be shown automatically. This is useful for when you don’t want to show this content automatically.

- Once: show this content only once per user. After the user has dismissed the content or left the target pages, the content will never automatically show again. This is useful for one-time only promotions, such as a welcome banner or a single-time only hint about a new feature.
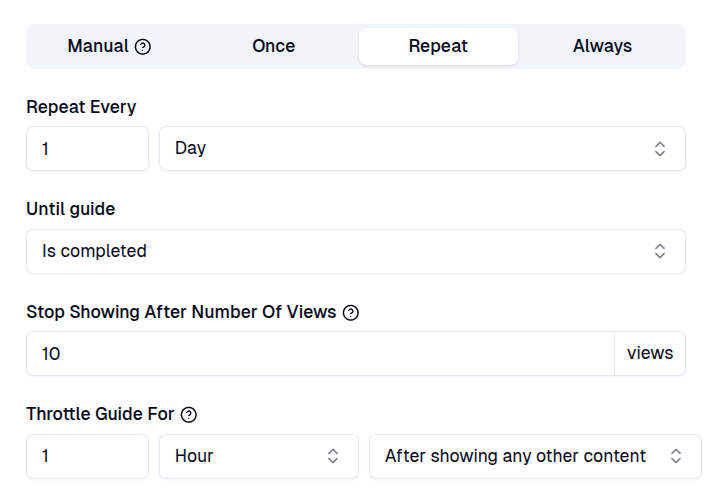
- Repeat: show this content periodically for each user until they complete a given objective or until the content has been viewed a specified number of times.
This is useful for showing continuous hints until a user achieves a desired outcome.
- Until content is unpublished: continue showing forever until it is unpublished.
- Until content is interacted with: continue showing until user either completes or dismisses it.
- Until content is completed: continue showing until user completes it.
- Until goal is completed: continue showing until user completes the conversion goal.
- Always: always show this content to users. This is useful for announcements or hints that are always relevant to your users. For example, a website maintenance announcement.
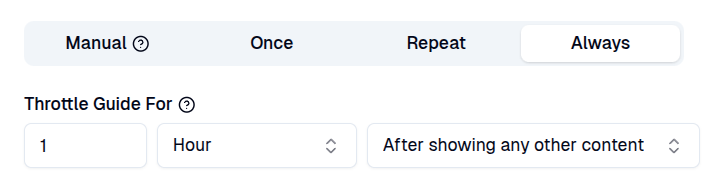
Throttling
Prevent overwhelming your users by limiting the frequency at which this content is shown. For example, you can set a minimum time delay between showing this content and any other content.- No time: don’t throttle content and show it immediately no matter when any other content was already shown.
- After showing any other [content type]: throttle this content for a specified time after any other content of the same type is shown.
- After showing any other content: throttle this content for a specified time after any other content of any type is shown.
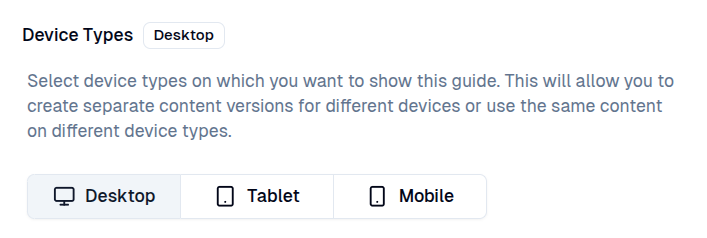
Device Type
Define on which device types your users should see this content. As some content is too complex for smaller mobile screens, you should only show it to desktop users.Device type will also affect which guides are shown inside the Resource Center to avoid showing mobile guides to desktop users and vice versa.
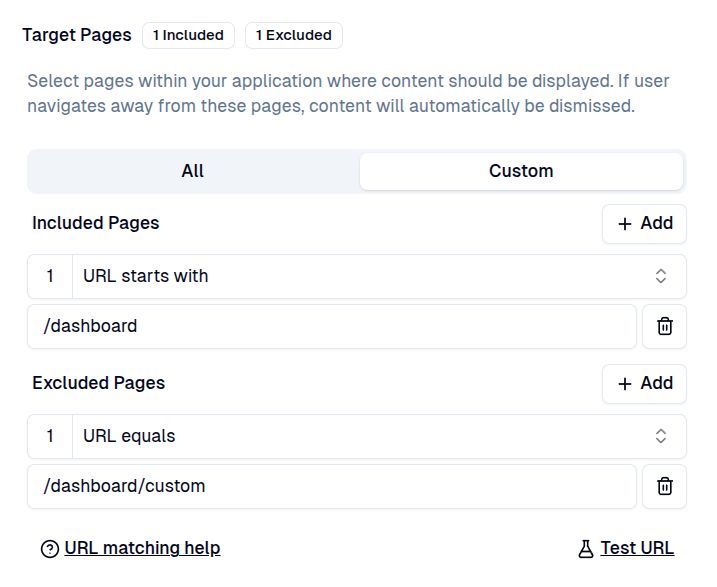
Target Pages
Definewhere this content should be displayed inside your application. If the content is already showing, navigating away from its target pages will automatically dismiss it.
- All: show content on all pages within an application. This is useful for global announcements or promotions that don’t require a target element to show (e.g. banners, modal windows).
- Custom: only show content on specific pages and/or exclude it from specific pages. This is useful for showing content in the right context within your application. We also recommend using custom target pages for content types that require a target element, which is only visible on specific application pages (e.g. guides, hints, embeds).
URL Matching
- Use only URL paths and not full website URLs. (e.g.
/users) - Use
:valueto match dynamic values between slashes. (e.g./users/:userId/details) - Use
*wildcard to match any number of characters in the URL. (e.g./users/*)
- Page is: Page URL path matches an existing page tag.
- URL equals: Page URL path is exactly the same as this value.
- URL contains: Page URL path contains this value.
- URL starts with: Page URL path starts with this value.
- URL ends with: Page URL path ends with this value.
- URL matches pattern: Page URL path matches this pattern.
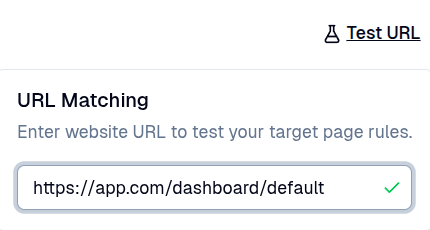
Test URL dialog:
Start Condition
Specify the trigger action that must occur before the content is displayed. This allows you to delay the content display until a specific user interaction has taken place.- Automatically: will trigger automatically without any additional user actions after
Delay Secondshas elapsed.
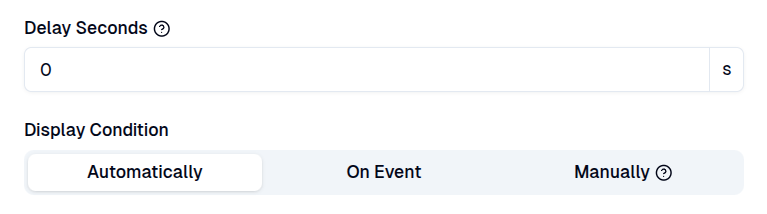
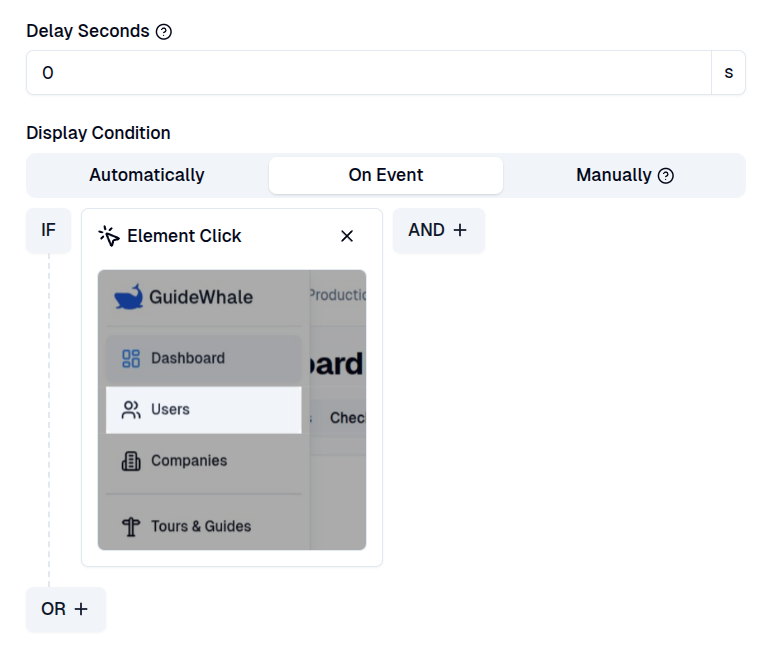
- On Event: content will only show when a specific event is triggered. This allows you to delay the content display until user performs an event, such as clicking a particular element, hovering over a button, or entering a value in a form field.
- Page View: trigger if page is viewed.
- Element Click: trigger if target element is clicked.
- Element Hover: trigger if target element is hovered.
- Element Exists: trigger if target element exists.
- User Input: trigger if user inputs a specified value into target element’s input field.
- Input Value: trigger if target element’s input value matches configuration.
- Manually: content will only show when users explicitly trigger it, such as through the Resource Center or by clicking a content button. It will never be shown automatically.

Schedule
Definewhen your content is displayed by scheduling a specific start and end date. This allows you to prepare content in advance and have it automatically published and unpublished at a later time.
Scheduling will also effect when guide starts to show inside the Resource Center.
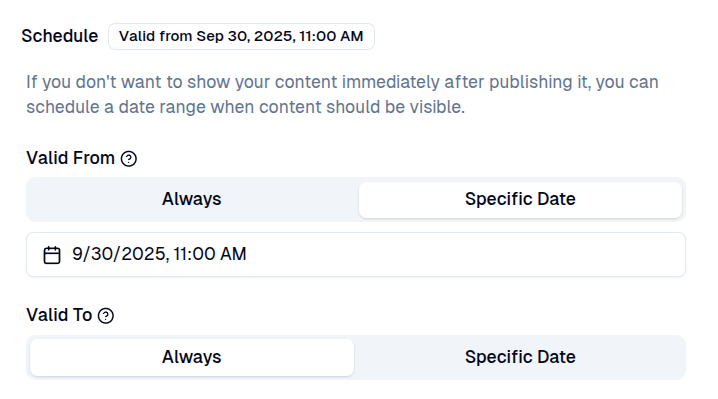
- Valid From: specify the date from which the content should be visible. For example, use this to schedule an upcoming content release.
- Valid To: specify the date until which the content should be visible. For example, use this for a time-limited promotion.
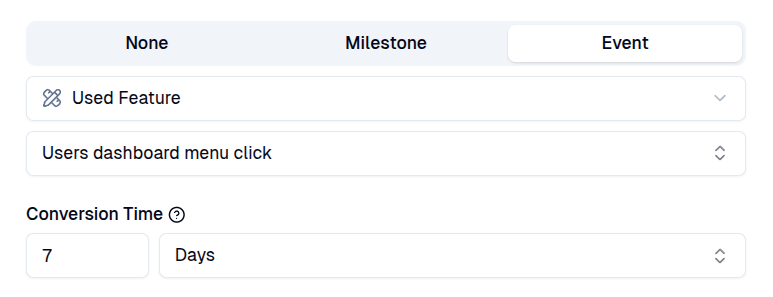
Conversion Goal
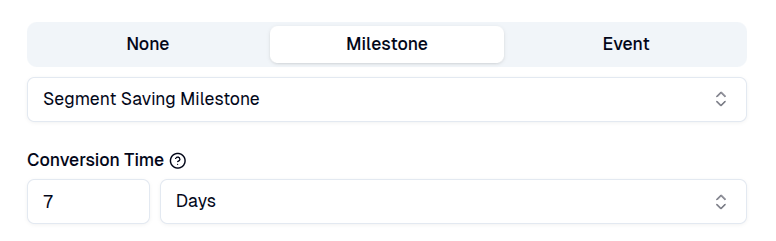
Define a goal that you want your users to achieve after being shown this content. Conversion goals are also used when evaluating the results of your AB testing.- None: no conversion goal is set. In this case, content completion is used as the conversion criteria when evaluating AB testing results.

- Milestone: use milestone completion as a content goal. This will allow you to measure how successfully content contributed to your users adopting your application.
- Conversion Time: expected time to complete the milestone after content has been shown.
- Event: use a feature usage or page view event as a content goal. This will allow you to measure how successfully content contributed towards a single feature usage or page view.
- Conversion Time: expected time to perform the event after content has been shown.